Shop award-winning nail products




How to do Gel Nails at Home

Doing your own gel nails at home is much easier than most people think. With the right products, good nail preparation and the correct curing process, you can achieve a salon-quality manicure that stays glossy and chip-resistant for up to 14 days with normal wear.
If you've been wondering where to start, this guide will walk you through everything you need to know. From choosing the right products to avoiding common mistakes, you'll learn how to create beautiful gel nails with confidence.
What You Need for a Gel Manicure at Home
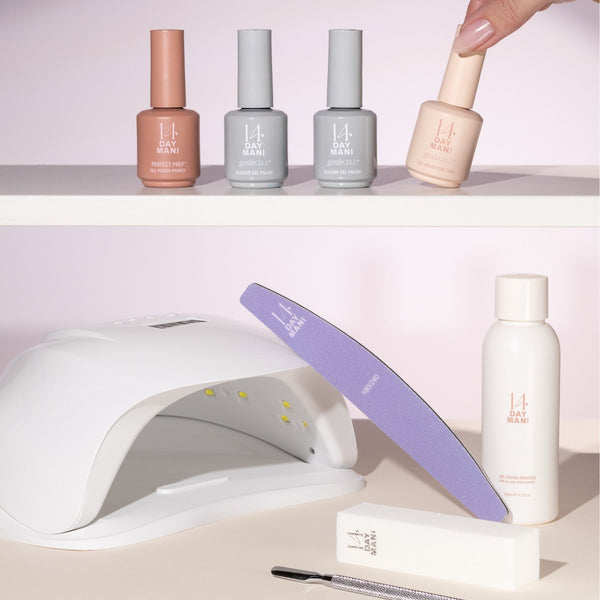
A gel manicure works as a complete system. Your lamp, base coat, gel polish and top coat are all designed to work together, giving you better adhesion, durability and shine. For beginners, buying a complete kit is the easiest way to get started, rather than trying to choose individual products.
You'll need:
-
An LED or UV nail lamp
-
A gel base coat
-
HEMA-free gel polish
-
A gel top coat
-
A nail file and buffer
-
Nail preparation products to remove surface oils before application
If you're starting from scratch, the Classic Club HEMA-Free Gel Polish Kit is a great place to begin. It includes everything you need for your first gel manicure, making the process simple and straightforward without the guesswork.
You can also explore our full Gel Polish Starter Kits Collection if you'd like to compare different colour options before choosing the right kit for you.
Step-by-Step Application
Step 1: Prepare Your Natural Nails
Proper preparation is the secret to long-lasting gel nails. Start by washing your hands thoroughly. Gently push back your cuticles and lightly buff the surface of each nail to remove the natural shine. This creates the perfect surface for the gel to bond to.
Avoid touching your nails after prep, as natural oils from your fingertips can reduce adhesion and increase the risk of lifting. Most peeling problems begin with poor nail preparation, so don't rush this step.
Step 2: Apply Your Base Coat
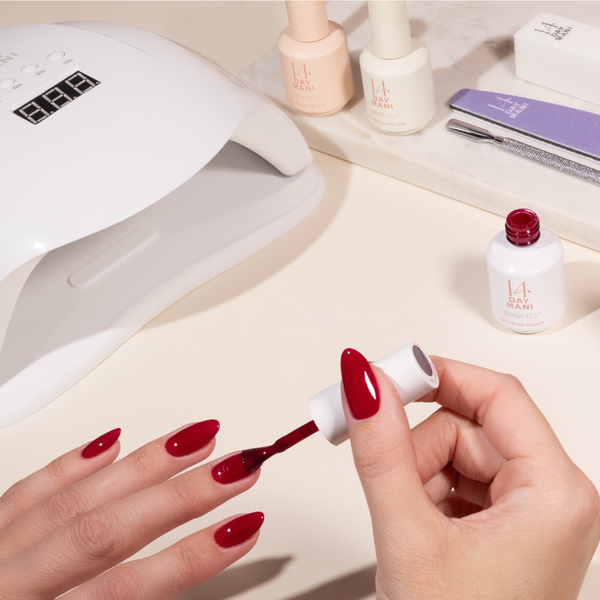
Apply a very thin layer of base coat. Take care not to flood the cuticles or sidewalls, as this can lead to lifting. Cure each coat for 60 seconds under the LED lamp.
Step 3: Apply Your Gel Polish
Apply your first coat of gel polish as thinly and evenly as possible. Thin coats cure more effectively, give a smoother finish and help prevent wrinkling.
Apply a second thin coat and cure again for 60 seconds. For sheerer, light colours apply a third coat and cure for 60 seconds for further coverage. If you're looking for fresh seasonal shades, the Sweet Summer HEMA-Free Gel Polish Trio offers beautiful colours that work perfectly with your gel manicure.
You can also browse our complete Gel Polish Colours Collection for even more shades.
Step 4: Seal Everything with Top Coat
Your top coat protects the colour and gives your manicure its long-lasting glossy finish. Apply a thin, even layer, making sure to cap the free edge of each nail if possible. Cure each coat for 60 seconds under the LED lamp.
Step 5: Keep Your Manicure Looking Its Best
Once your manicure is complete, try to avoid soaking your hands immediately afterwards. Regularly applying a serum like our Nonicure Nail Serum will help keep both your nails and surrounding skin healthy, allowing your manicure to look fresh for longer.
Common Beginner Mistakes to Avoid
Most gel manicure problems are easy to prevent. Watch out for these common mistakes:
-
Applying coats that are too thick
-
Touching the nail after preparation
-
Skipping the base coat or top coat
-
Not curing each layer for the full recommended time
-
Peeling or picking off gel polish instead of removing it properly
Taking your time and applying thin, even coats will make a noticeable difference to both the appearance and longevity of your manicure.
The Best Products for Beginners
If you're completely new to gel nails, using a complete kit removes much of the uncertainty.
Our HEMA-Free Gel Polish At-Home Kit has been designed to give beginners everything they need in one place, so each product works together as part of one simple system.
If you'd like additional colour options, the we have gorgeous trio options available which are great companion purchases to add to your kit.
For anyone looking to support healthy-looking nails between manicures, Nonicure Nail Prevention System is another helpful addition to your routine.
Who Is This Guide For?
This guide is ideal if you are:
-
Completely new to gel nails
-
Moving from salon appointments to doing your nails at home
-
Looking for a reliable, long-lasting manicure
-
Wanting salon-quality results without the salon price
With the right products and a simple step-by-step routine, achieving beautiful gel nails at home is absolutely possible.
Final Thoughts
Doing gel nails at home doesn't need to be complicated.
The key is using a complete gel system, preparing your nails carefully and applying thin, even coats. Once you've mastered the basics, creating professional-looking manicures becomes quick, enjoyable and cost-effective.
Whether you're trying gel nails for the very first time or returning after salon visits, starting with a complete kit makes the whole process much simpler and gives you the best chance of achieving long-lasting results.
Frequently Asked Questions
Can beginners do gel nails at home?
Absolutely. A complete gel polish kit makes the process much easier because all of the essential products are designed to work together.
Do I need a lamp for gel nails?
Yes. Gel polish must be cured under an LED or UV lamp to harden correctly and achieve a durable finish.
How long do gel nails last?
With proper nail preparation and correct application, a 14 Day Mani gel manicure is designed to last up to 14 days with normal wear.
Why do gel nails peel?
Peeling is usually caused by insufficient nail preparation, applying coats too thickly, touching the nail after prep or not curing each layer fully.
Which kit should I start with?
If you're new to gel nails, the Classic Club HEMA-Free Gel Polish Kit is an excellent place to start as our best-selling kit. You can also browse our full Gel Polish Starter Kits Collection to find the kit that's right for you.