Shop award-winning nail products




Why Proper Gel Polish Removal Matters

If your nails feel thin, bendy, or damaged after removing gel polish, the problem is often not the manicure itself - it's the removal process.
Peeling, picking, or forcing gel off the nail can strip away layers of the natural nail plate, leaving nails feeling weak, rough, and prone to breakage. Learning how to remove gel properly is one of the best things you can do to keep your nails healthy between manicures.
Why Proper Gel Removal Is So Important
Your natural nail is made up of multiple thin layers. When gel polish or builder gel is peeled away before it's ready, those layers can lift away with the product. This can leave nails feeling:
-
Thin and flexible
-
Weak or papery
-
Dry and rough
-
Prone to peeling
-
More likely to split or break
In many cases, this isn't damage caused by wearing gel. It's damage caused during removal.
Common Gel Removal Mistakes
Many people unintentionally damage their nails by rushing the removal process. The most common mistakes include:
-
Peeling or picking off gel polish
-
Rushing the soak-off process
-
Scraping hardened product from the nail
-
Filing the natural nail too aggressively
-
Removing gel when it hasn't fully softened
A good rule to remember is simple: if the gel doesn't come away easily, it's not ready.
How to Remove Gel Polish Properly at Home
Taking a little extra time during removal can make a huge difference to the health of your nails.
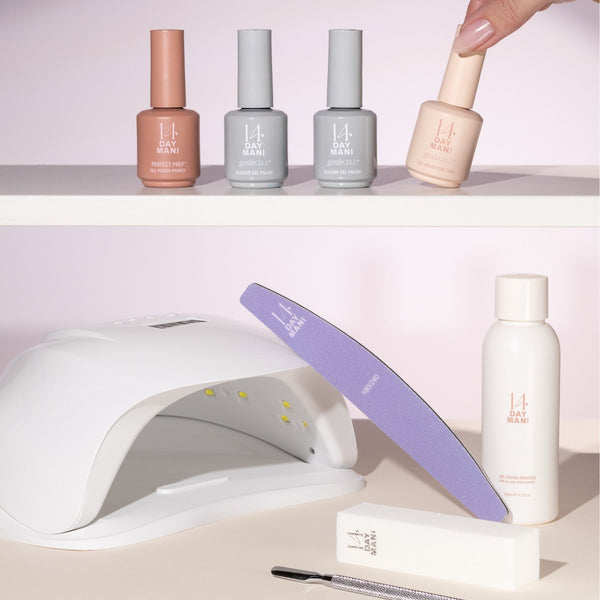
Step 1: File Off the Shine
Lightly file the surface of the gel to remove the glossy top layer. The aim is not to file your natural nail, but simply to break the seal so the remover can penetrate the gel more effectively.
Step 2: Allow the Gel to Soften
Apply your gel remover using cotton pads or remover wraps and allow enough time for the product to soften completely. You'll know it's ready when the gel begins to lift or appears soft and slightly puffy.
Patience is key during this stage.
Step 3: Gently Remove the Product
Using a cuticle pusher or suitable removal tool, gently ease the softened gel away from the nail. Never scrape forcefully. If you feel resistance, stop and soak for a little longer.
Step 4: Repeat if Necessary
Some areas may need additional soaking time. Adding a few more minutes is always better than applying more pressure.
Step 5: Care for Your Nails Afterwards
Once the gel has been removed, gently buff away any remaining residue if needed. Finish by applying the Nonicure Nail Serum to help support your natural nails between manicures.
What to Do If Your Nails Already Feel Damaged
If your nails feel thin, peeling, or weaker than usual after gel removal, it's worth giving them a little extra care before applying another manicure. Instead of immediately reapplying gel, consider taking a short recovery break.
Support Recovery with Nonicure™
Nonicure™ is designed to help improve the overall condition of your natural nails after repeated gel manicures.
The 3-step system helps to:
-
Support stronger-looking nails
-
Smooth rough nail surfaces
-
Improve hydration
-
Encourage healthier nail condition
-
Help reduce peeling and brittleness
It's an ideal addition to your routine if your nails need a little extra support between gel sets.
Give Your Nails a Break with Gel Break™
If you're taking a short break from gel, Gel Break™ provides a protective strengthening treatment while keeping nails looking polished.
Benefits of Gel Break™
-
Helps support weak nails
-
Reduces the appearance of damage
-
Leaves a natural glossy finish
-
Ideal between gel manicures
Together, Nonicure™ and Gel Break™ can help support healthier nails while you prepare for your next manicure.
The Golden Rule of Gel Removal
Healthy nails start with patient removal. If your gel polish doesn't come away easily, don't force it. Reapply your remover, wrap the nail again, and allow a little more time. A few extra minutes during removal can help prevent weeks of nail recovery later.
FAQs
Does removing gel damage your nails?
Gel removal shouldn't damage your nails when it's done correctly. Most damage occurs when gel is peeled, picked, or scraped off before it has fully softened.
Why are my nails peeling after gel removal?
Peeling usually happens when layers of the natural nail are removed along with the gel during improper removal. Over-filing and aggressive scraping can also contribute.
How do I remove gel polish without damaging my nails?
Lightly file the top coat, allow the gel to soften completely with remover, and gently lift the product away. Never force or peel the gel from the nail.
What should I use after removing gel polish?
After removal, it's a good idea to use nourishing treatments like Nonicure™ to support nail health or Gel Break™ if you're taking a break from gel while helping protect weakened nails.
Should I take a break after removing gel?
If your nails feel thin, dry, or damaged, a short break can help restore their condition before your next gel manicure. During this time, using strengthening and nourishing treatments can help support healthier nails.