Shop award-winning nail products




Why Your Gel Mani Isn't Lasting

If your gel polish chips, peels or lifts after just a few days, the problem is often down to your application rather than the products you're using. Fortunately, the most common gel polish mistakes are easy to fix. By making a few small changes to your routine, you can enjoy a stronger, longer-lasting manicure that looks salon-perfect for up to 14 days or more.
Whether you're new to gel polish or you've been doing your own nails for years, these are the mistakes we see most often - and exactly how to avoid them.
Why Does Gel Polish Peel or Lift?
One of the biggest reasons DIY gel manicures fail is poor adhesion. Gel polish needs a properly prepared nail surface, thin, even layers and correct curing to bond effectively.
If any of these steps are missed, you may notice:
-
Peeling after only a few days
-
Lifting around the cuticles
-
Chipping at the nail tips
-
Wrinkled or uneven colour
-
A dull or uneven finish
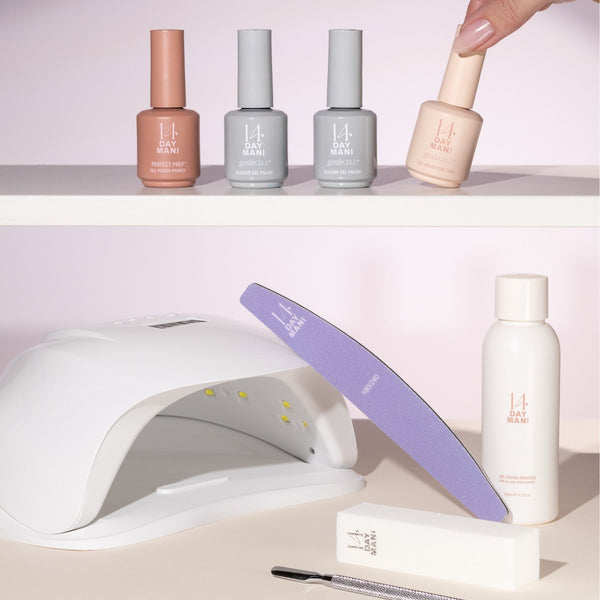
The good news? Most of these problems are completely preventable and our At-Home Gel Polish Kit provides everything you need for the perfect, long-lasting manicure.
1. Skipping Nail Preparation
The Mistake
Your nails look clean, so it's tempting to jump straight into applying colour. However, even freshly washed nails still contain natural oils, moisture and invisible cuticle tissue that prevent the gel from adhering properly. Poor preparation is one of the leading causes of lifting and premature peeling.
How to Fix It
Spend a few extra minutes preparing your nails before every manicure.
A proper prep routine should include:
-
Gently pushing back the cuticles.
-
Lightly buffing the nail to remove surface shine.
-
Removing all filing dust.
-
Dehydrating the nail plate before applying your base.
Our Perfect Prep Primer helps remove excess oils and moisture while creating the ideal surface for long-lasting adhesion.
Remember: great prep creates great results.
2. Applying Thick Layers of Gel Polish
The Mistake
It might seem like applying one thick coat will save time. Unfortunately, thick layers cure unevenly under the lamp, leaving soft gel underneath that can wrinkle, bubble or peel away within days.
How to Fix It
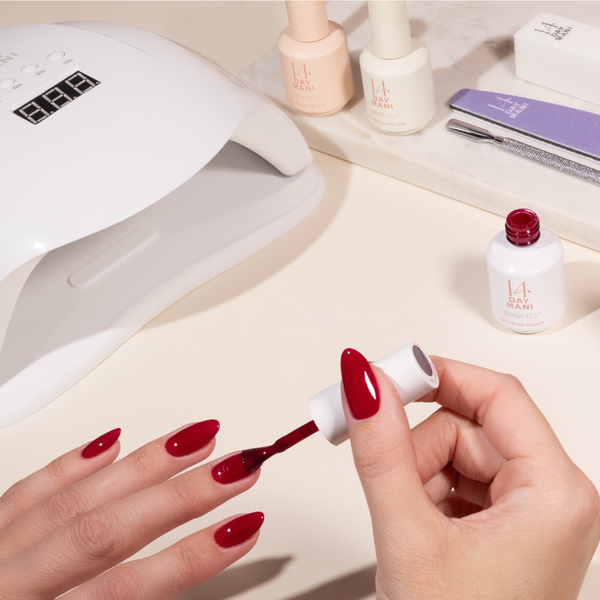
Always apply thin, even coats.
For the best finish:
-
Apply two to three thin colour coats.
-
Cure each coat for 60 seconds under your LED lamp.
-
Build colour gradually instead of trying to achieve full coverage in one application.
Thin layers cure more effectively, create a smoother finish and significantly improve wear time. Multiple thin layers is way better than one thick one.
3. Forgetting to Cap the Free Edge
The Mistake
Many people paint only the surface of the nail and forget about the very tip. The free edge experiences the most daily wear, making it one of the first places lifting and chipping begin.
How to Fix It
After applying each layer (base coat, colour and top coat) lightly brush the product across the free edge before curing. This technique, known as capping the free edge, helps seal the manicure and protects the most vulnerable part of the nail. It's a small step that makes a noticeable difference to durability.
4. Getting Gel on the Skin or Cuticles
The Mistake
Allowing gel polish to touch the surrounding skin or flood the cuticle area reduces adhesion. Instead of bonding directly to the nail, the gel sticks to the skin, creating weak points where lifting quickly develops.
How to Fix It
When applying each coat:
-
Leave a small gap between the gel and your cuticle.
-
Work slowly and carefully around the nail edges.
-
If any product touches the skin, remove it before curing.
Cleaning up before curing helps prevent lifting and gives your manicure a much neater, more professional appearance.
5. Rushing the Curing Process
The Mistake
Removing your hand too early or not curing each layer for long enough can leave uncured gel beneath the surface. This affects durability and can lead to peeling, dullness or an uneven finish.
How to Fix It
Always follow the recommended curing time for your products.
For most gel polish applications:
-
Cure each coat for 60 seconds using a compatible LED lamp.
-
Ensure your hand is positioned correctly inside the lamp.
-
Avoid applying layers that are too thick, as these require longer curing.
Proper curing allows every layer to harden fully and bond together for maximum longevity.
How to Make Your Gel Manicure Last Longer
Small improvements throughout your application routine can make a huge difference to how long your manicure lasts.
For the best results:
-
Prepare the nail thoroughly.
-
Use a dehydrator or primer before your base coat.
-
Apply thin coats of gel.
-
Cap the free edge every time.
-
Cure each layer fully.
-
Finish with cuticle oil to keep the surrounding skin healthy.
These simple habits help you achieve the glossy, chip-resistant finish you expect from a salon manicure.
Frequently Asked Questions
Why does my gel polish peel after a few days?
The most common causes are inadequate nail preparation, thick product application, gel touching the skin or insufficient curing.
Should I buff my nails before gel polish?
Yes. Lightly buffing removes surface shine and helps improve adhesion. Avoid over-buffing, as this can weaken the natural nail.
Why do thin coats work better?
Thin coats cure evenly under the lamp, creating a stronger bond and reducing the risk of wrinkling, bubbling or peeling.
What does capping the free edge mean?
Capping the free edge involves brushing a small amount of product across the tip of the nail to seal the manicure and reduce chipping.
Can I fix gel polish that touches my skin?
Yes. Remove any gel from the skin before curing using a clean brush or manicure stick. Preventing skin contact helps avoid lifting later.
Enjoy Longer-Lasting Gel Nails
Achieving a salon-quality gel manicure at home isn't about complicated techniques - it's about getting the basics right.
By taking the time to prepare your nails properly, applying thin layers, sealing the free edge and curing each coat correctly, you'll dramatically improve the longevity of your manicure.
Even if you've experienced lifting or peeling in the past, these simple adjustments can make all the difference. With the right products and a little patience, beautiful, long-lasting gel nails are well within reach.