NEW IN: NAIL GLOSS SPF 50 Base & TOP COAT - UV PROTECTION FOR NAILS - SHOP NOW


save 10%


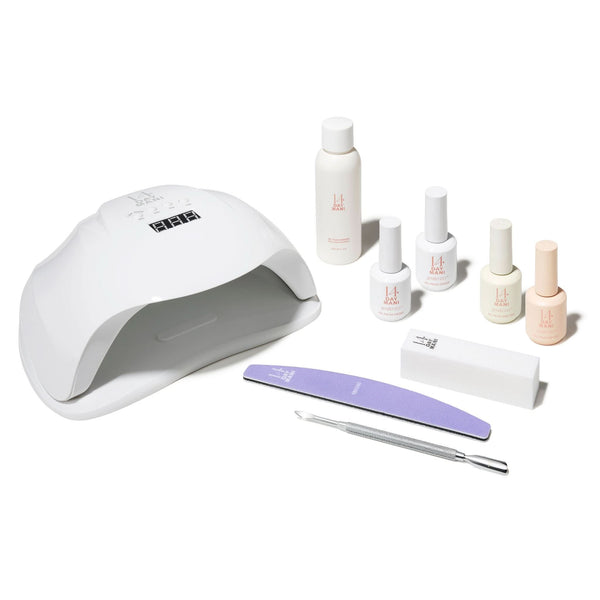
Flexi Gel Tip Adhesive Set
Rated 4.8 out of 5 stars
5 Reviews
Regular price
€41.00
Sale price
€37.00
Tax included. Shipping calculated at checkout.
FREE Shipping on ALL Orders (this weekend only)
FOR PROFESSIONAL SALON USE. Everything you need to apply your Flexi Gel Tips.
The clear builder gel base helps the adhesive putty adhere to the nail, as well as strengthening your natural nail while you wear.
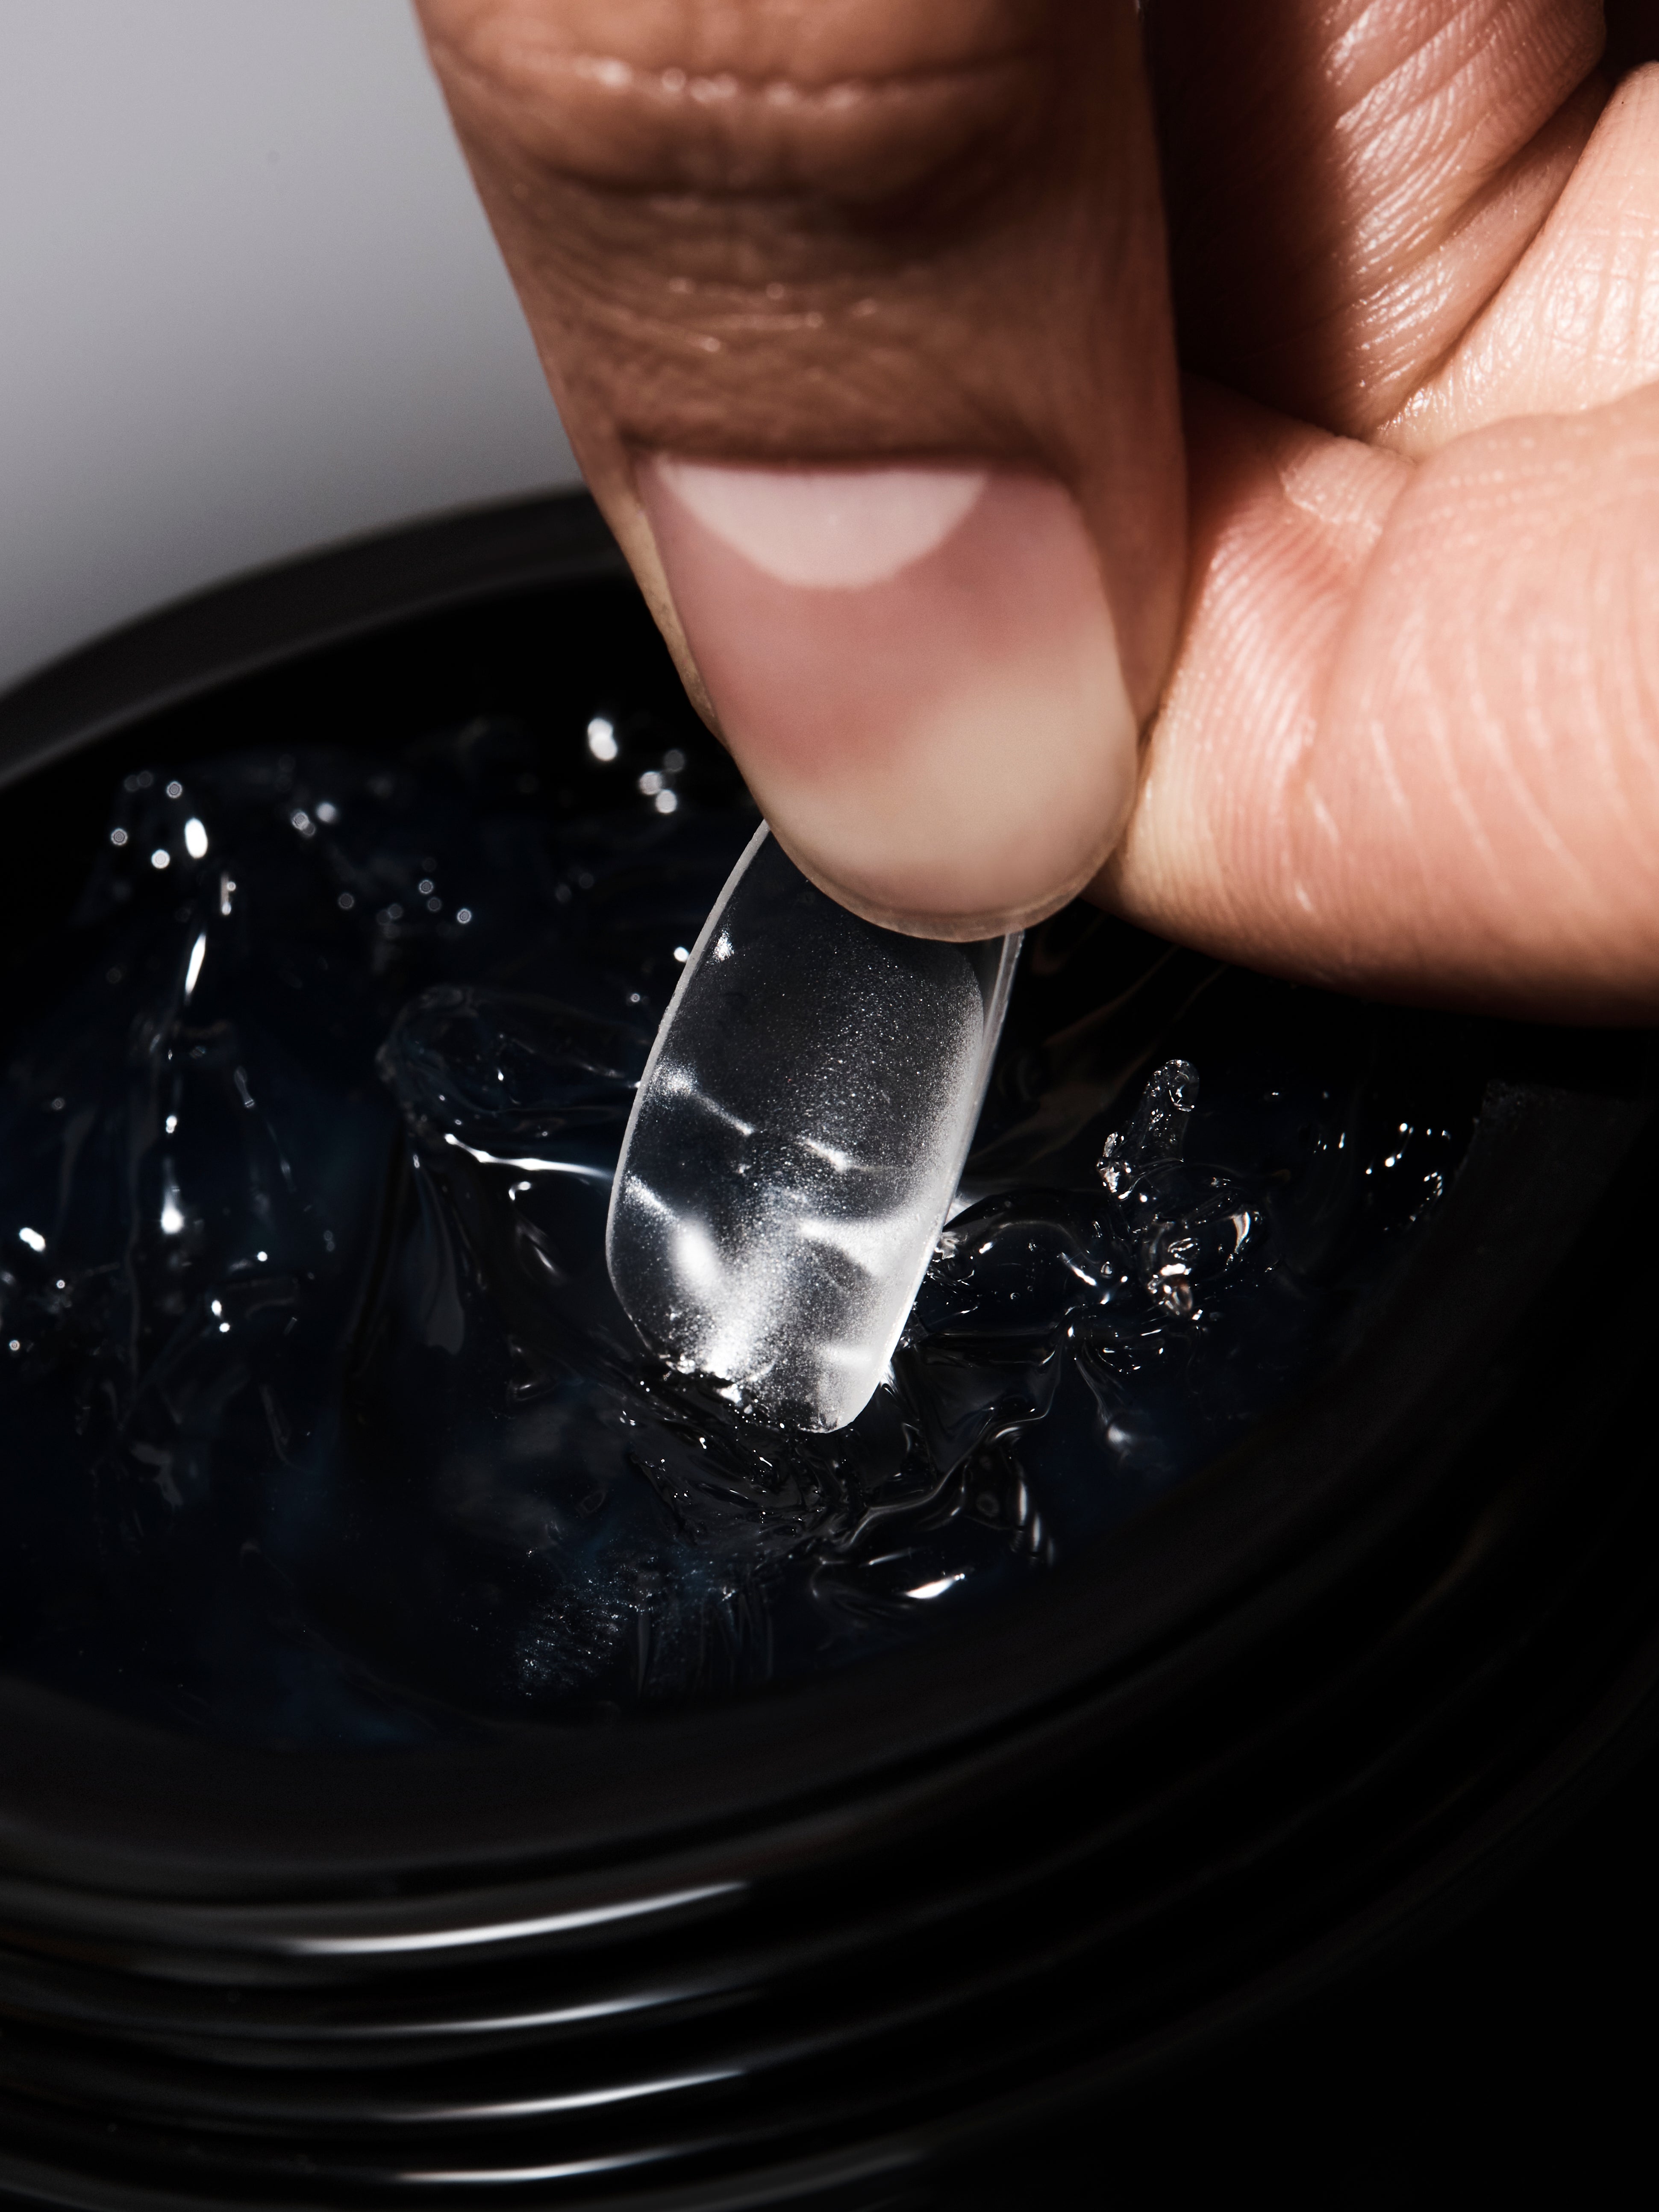
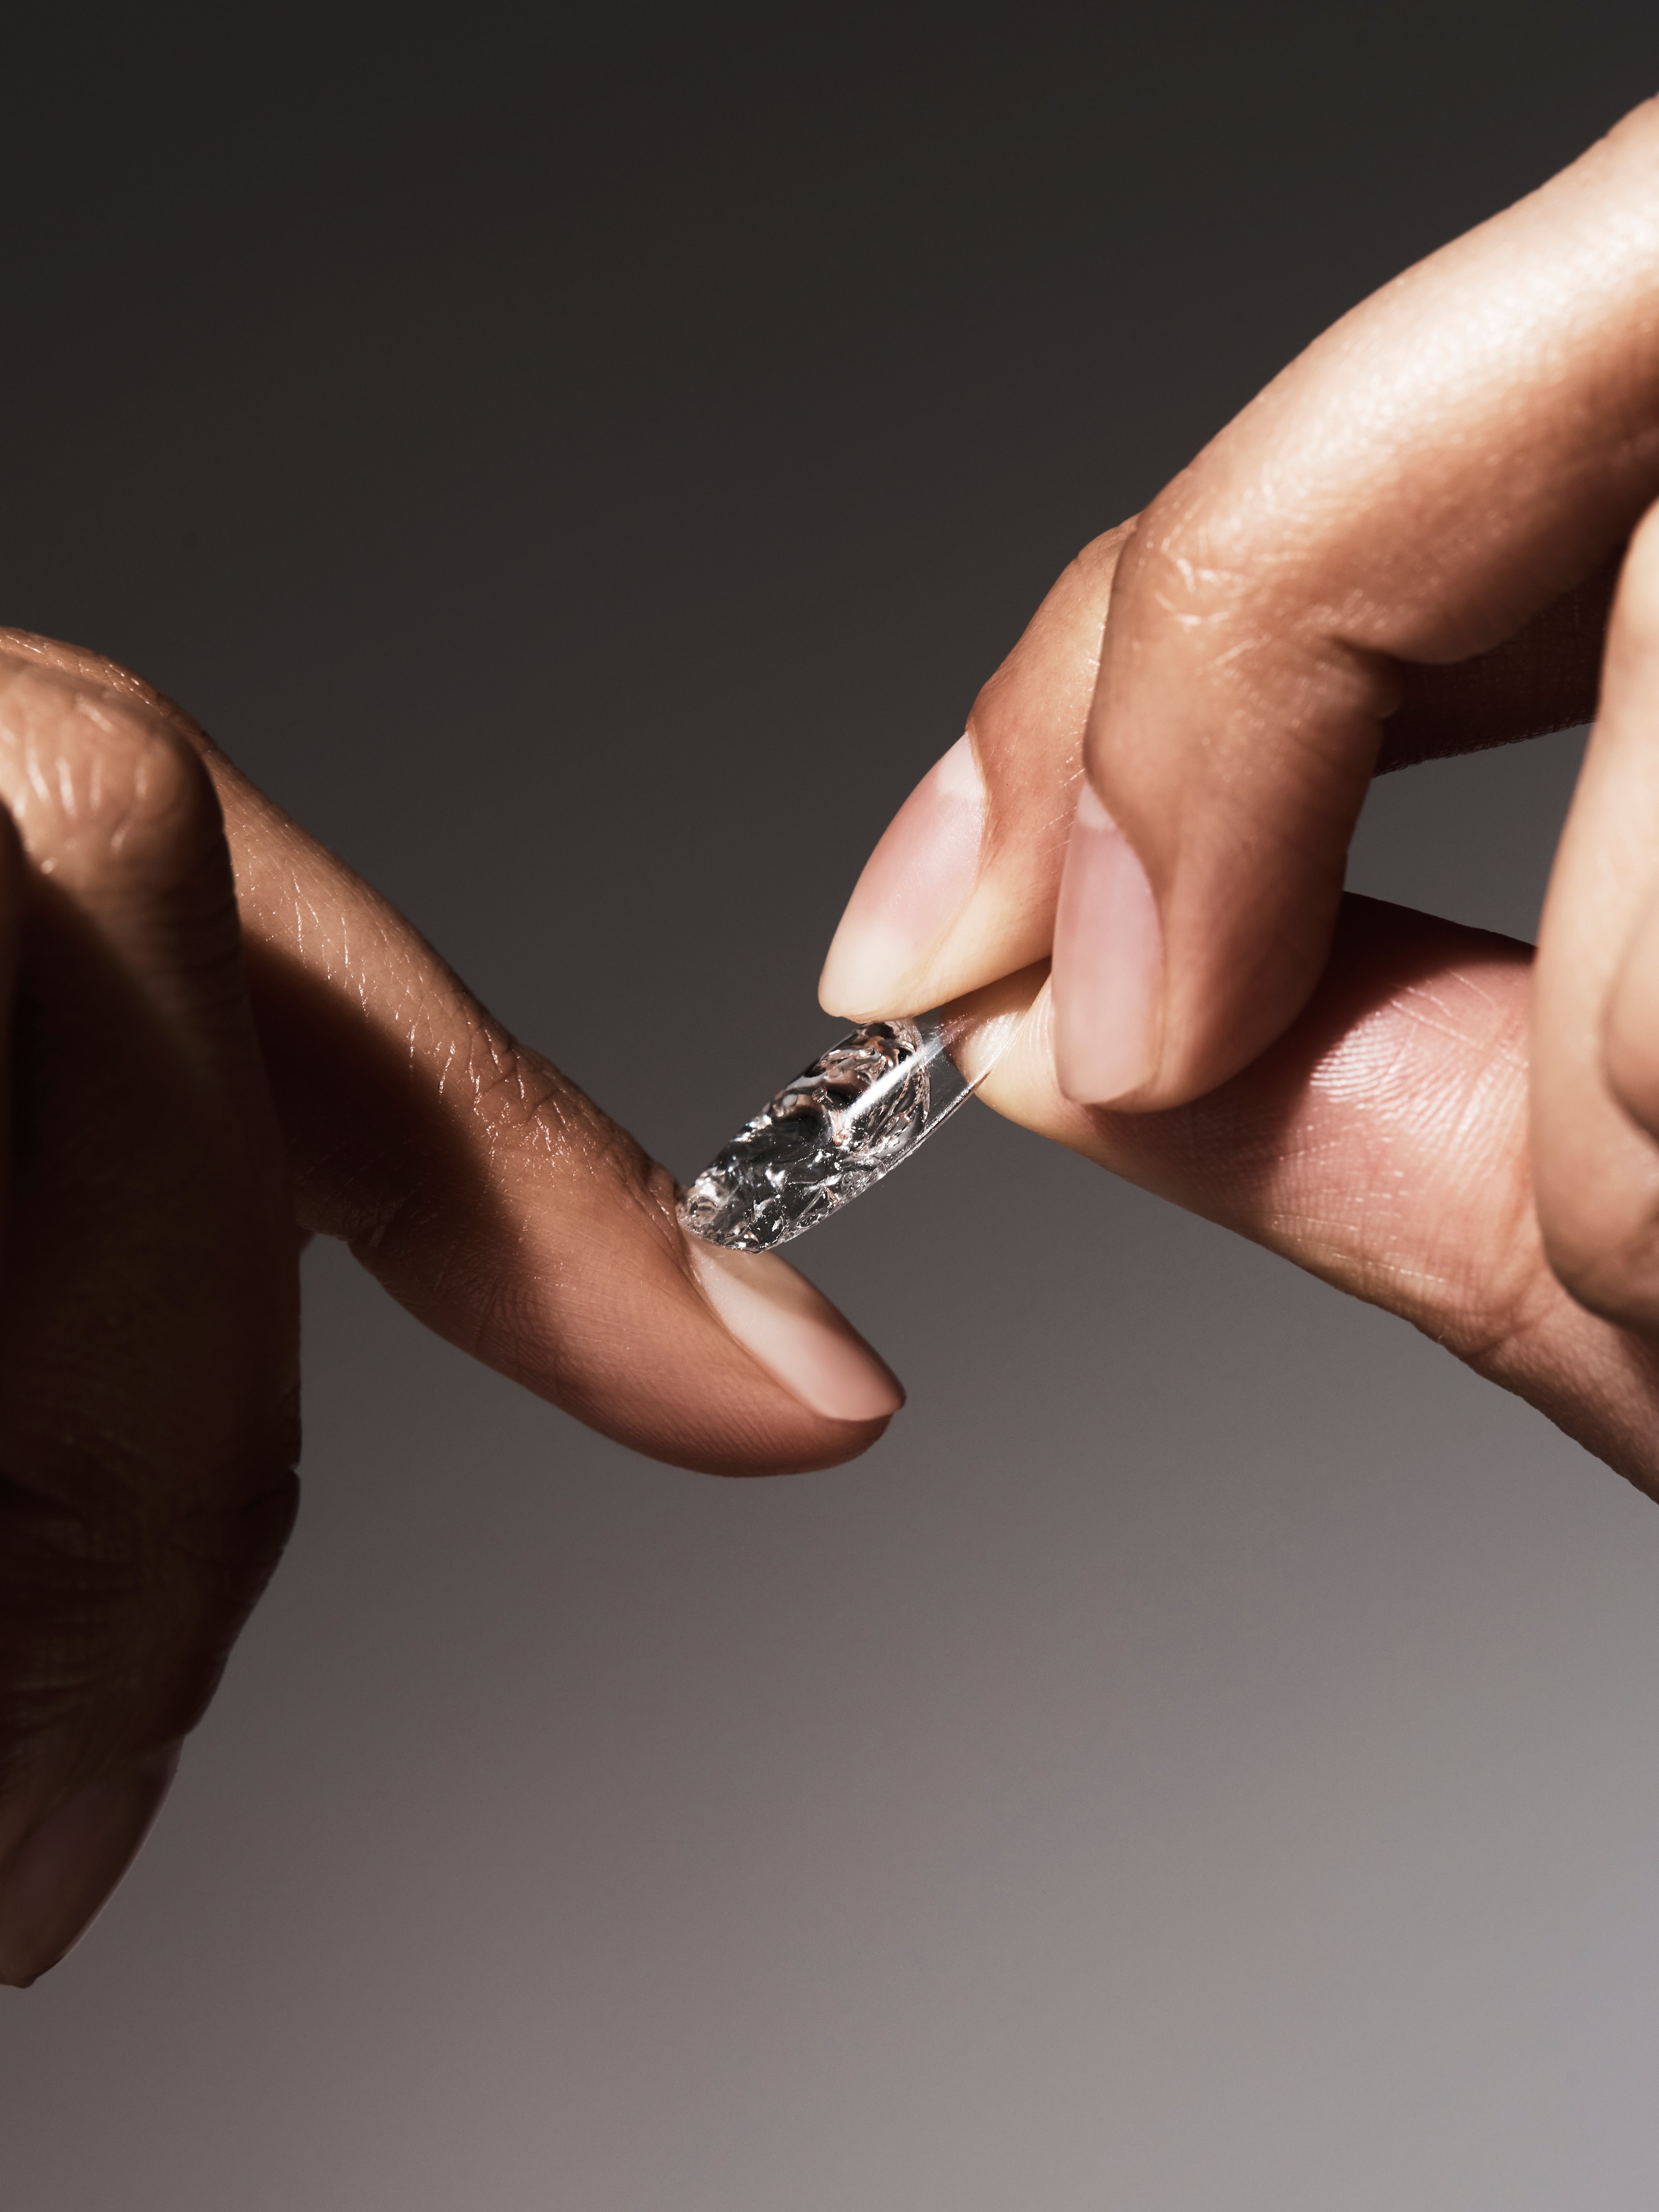
Our Flexi Gel Adhesive is a flexible, new generation adhesive for (gel) tips. It's not a traditional messy glue, it's a clear putty that hardens under a normal UV/LED lamp OR our Pro Flash Cure lamp. This innovative adhesive putty has a strong adhesive effect that makes tip positioning and fixing easy. It doesn’t move or slip, and is super easy to work with thanks to it's non sticky formula.
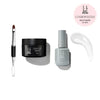
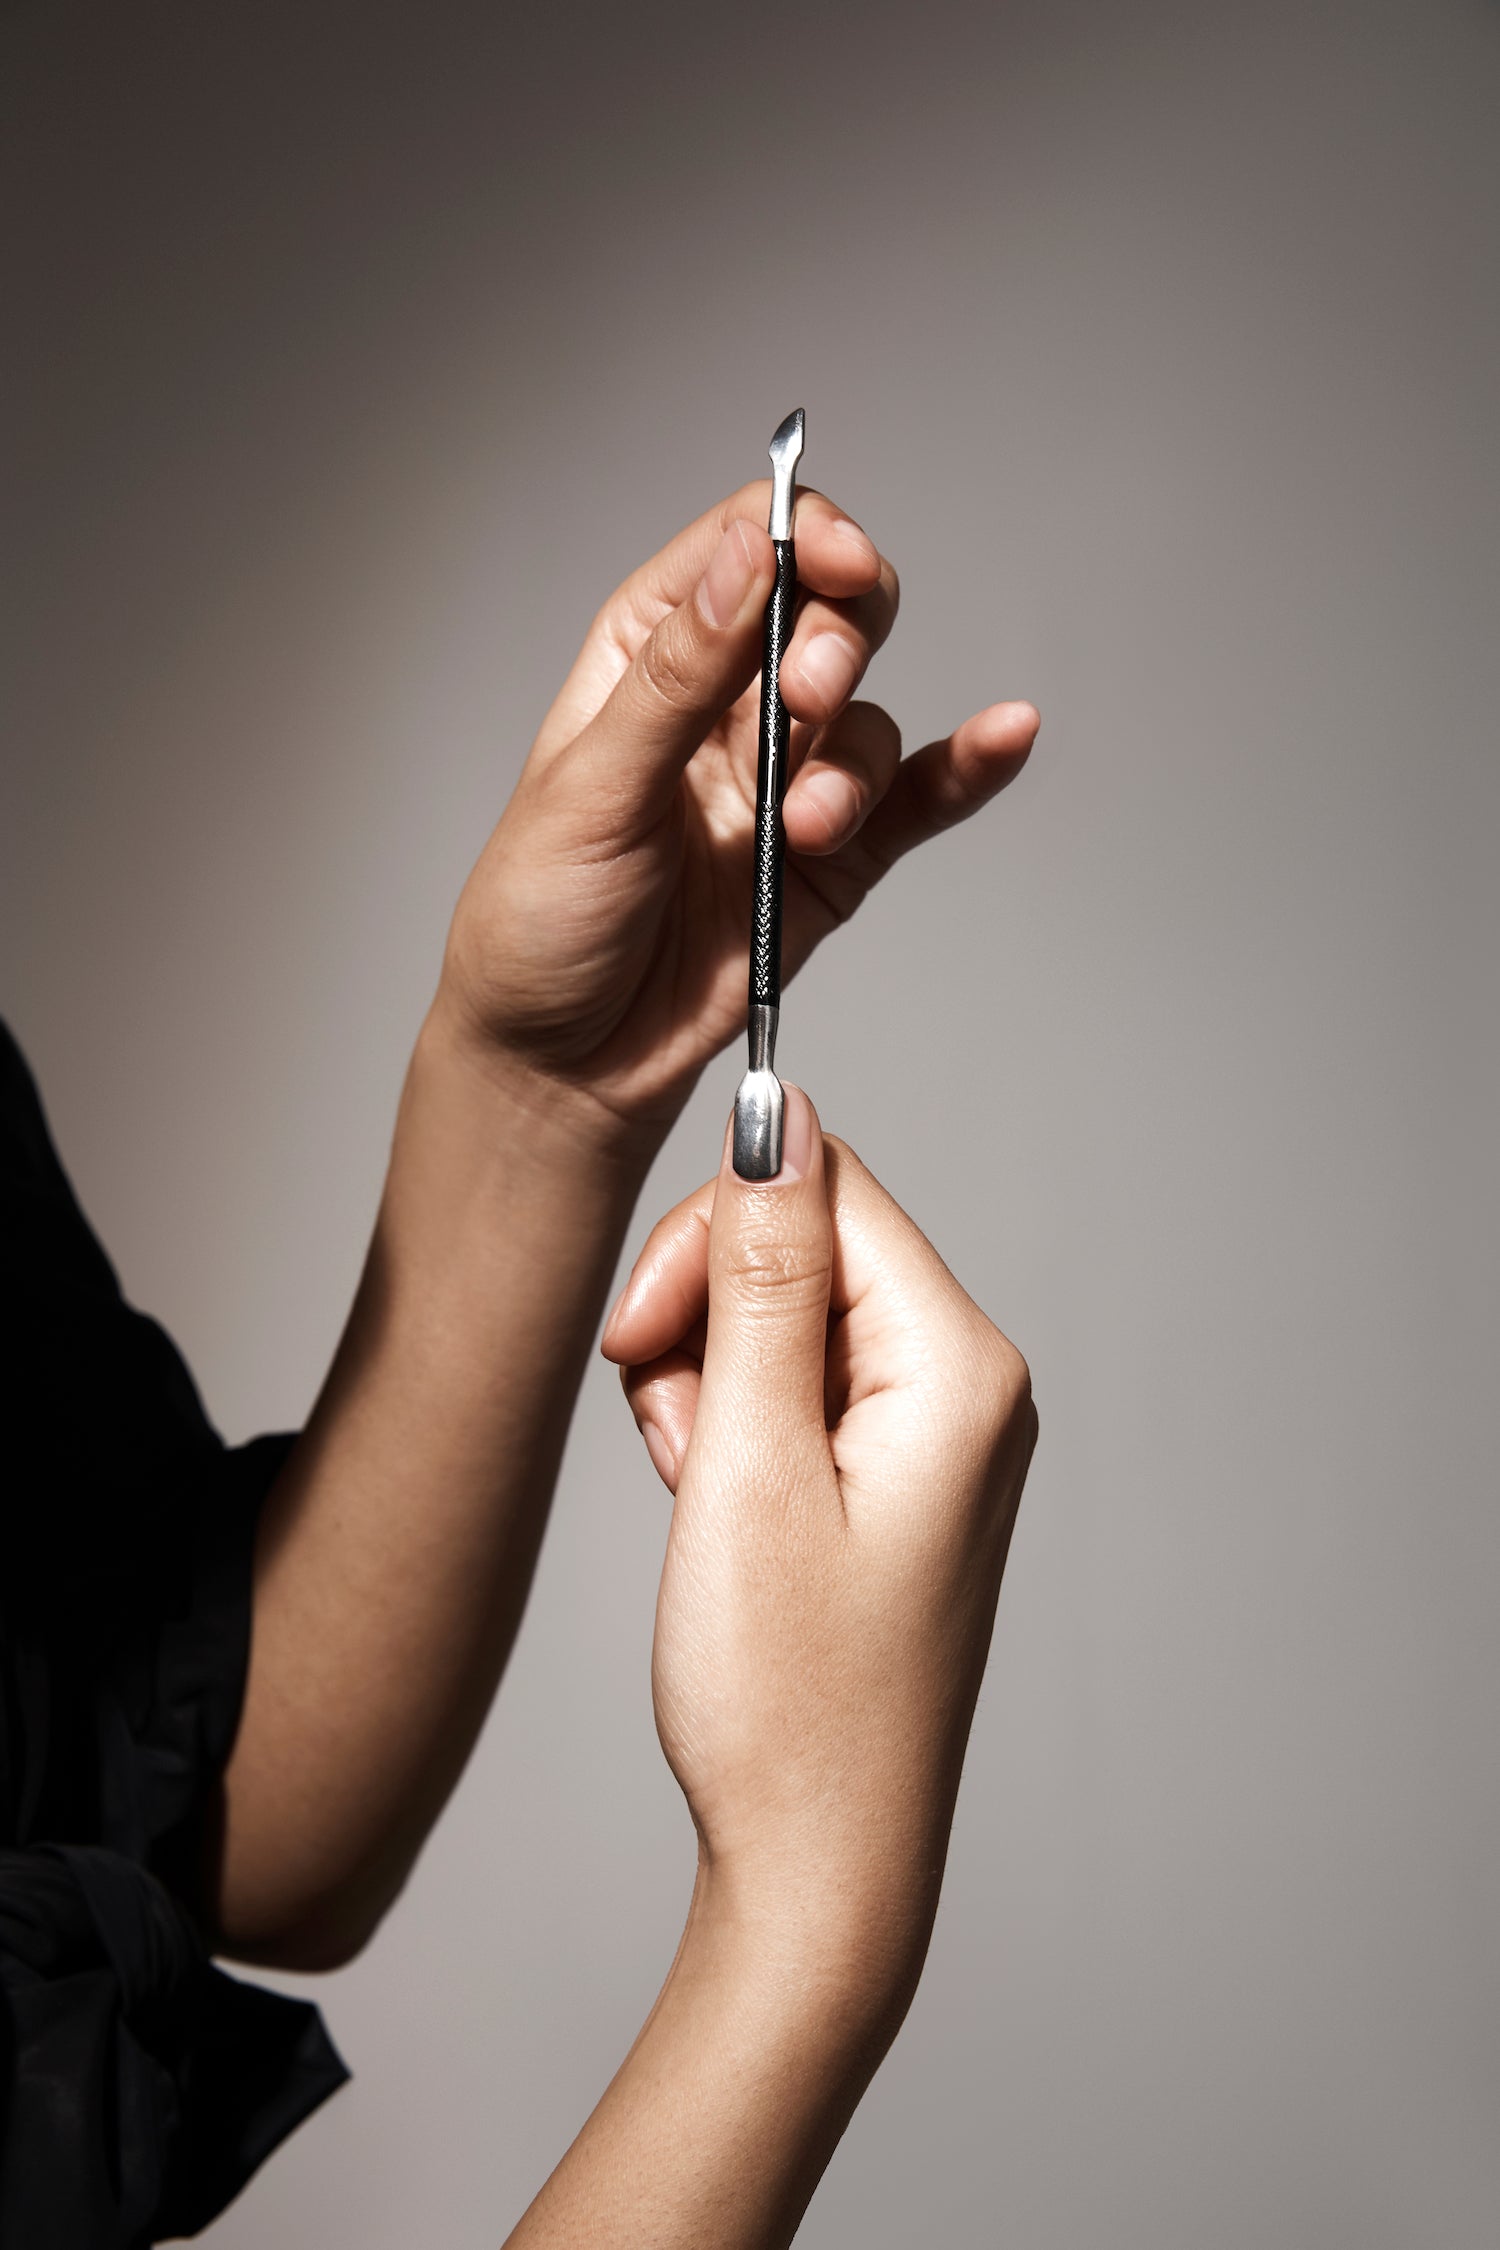
The dual ended brush and picker, allows for ease of adhesive application and tidy up.
Professional use advised - be sure to follow our pro application training guides before use.
The clear builder gel base helps the adhesive putty adhere to the nail, as well as strengthening your natural nail while you wear.
Our Flexi Gel Adhesive is a flexible, new generation adhesive for (gel) tips. It's not a traditional messy glue, it's a clear putty that hardens under a normal UV/LED lamp OR our Pro Flash Cure lamp. This innovative adhesive putty has a strong adhesive effect that makes tip positioning and fixing easy. It doesn’t move or slip, and is super easy to work with thanks to it's non sticky formula.
The dual ended brush and picker, allows for ease of adhesive application and tidy up.
Professional use advised - be sure to follow our pro application training guides before use.
Our innovative adhesive is not a traditional messy glue, it's a clear putty that hardens under a normal UV/LED lamp OR our Pro Flash Cure lamp.
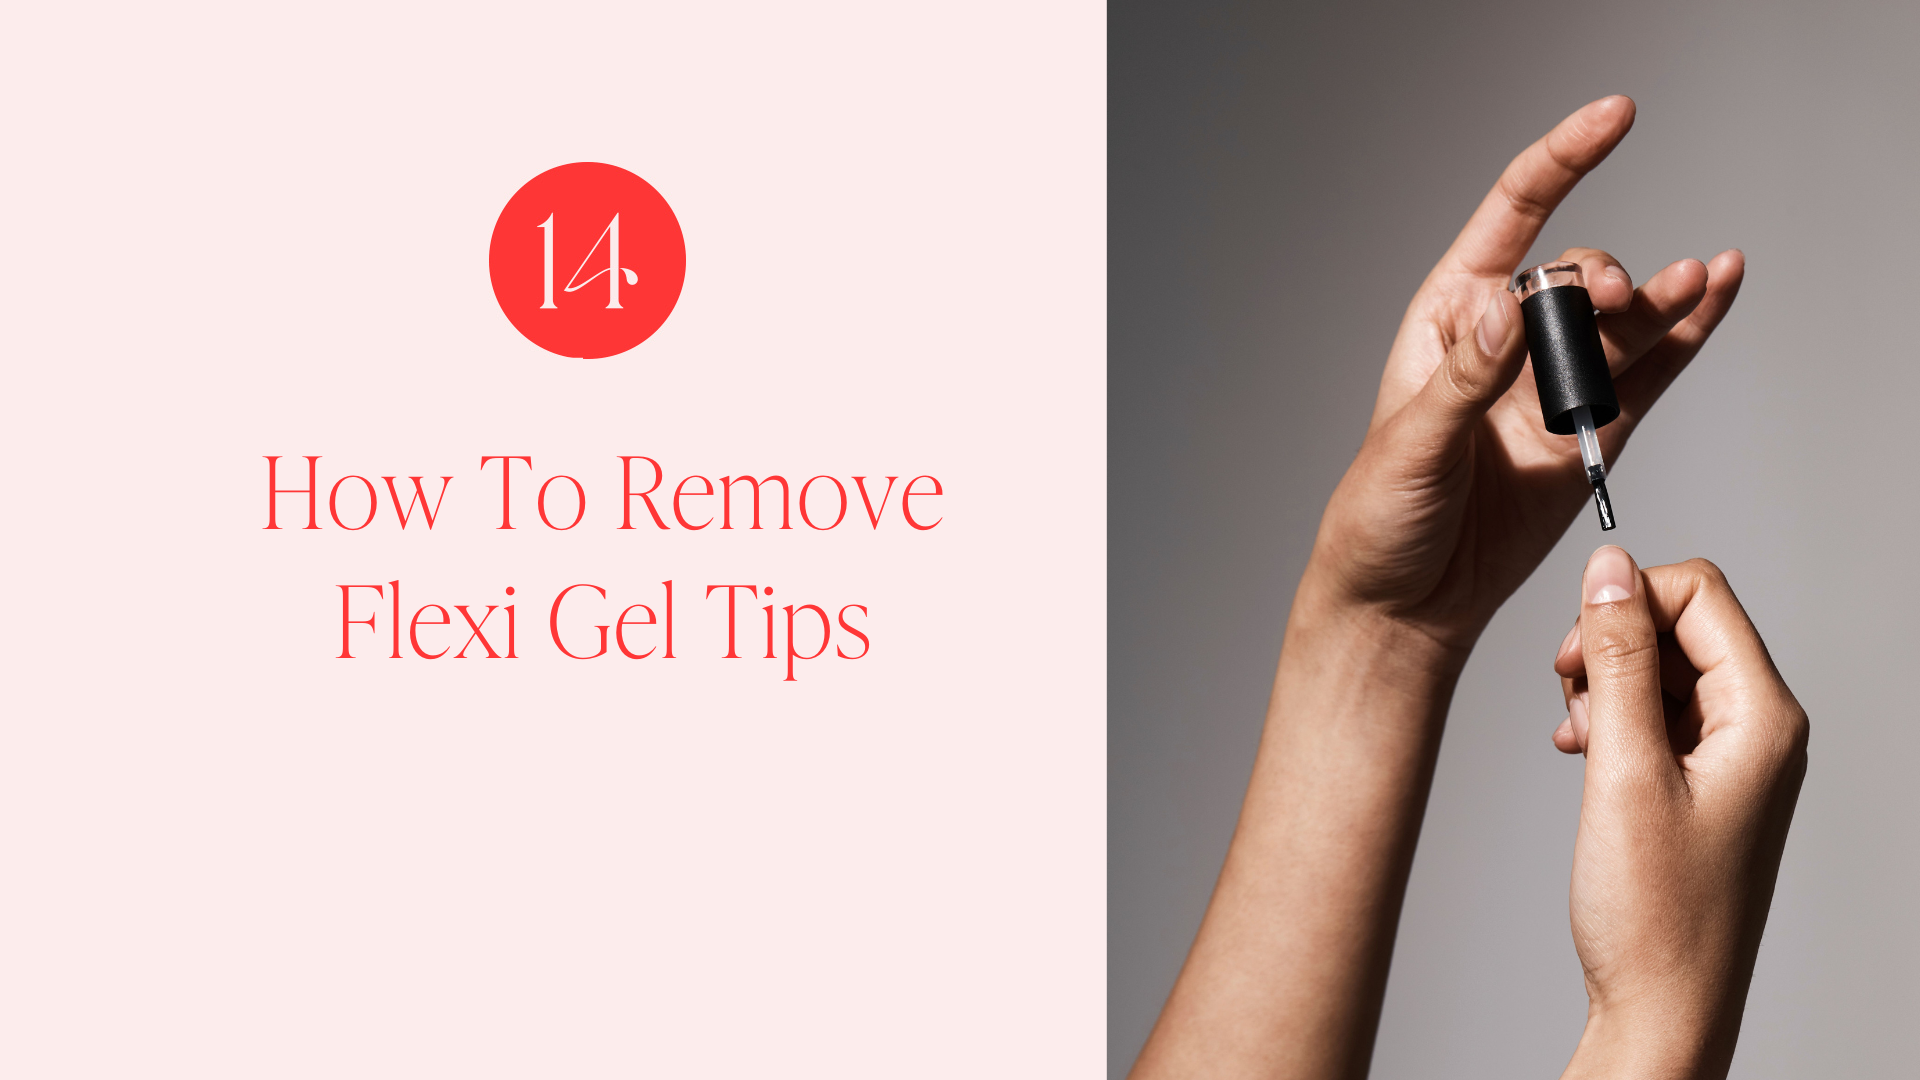
Please see our application guide for full instructions on how to use and remove.
Please see our application guide for full instructions on how to use and remove.
Flexi Gel Adhesive:
Polyurethane Acrylate,Oligomer,Ethylene, Glycol Dimethacrylate,Hydroxycyclohexyl,Phenyl Ketone,Benzophenone
Builder Gel:
Di-Hema Trimethylhexyl Dicarbamate, Isobornyl Methacrylate, Hydroxpropyl Methacrylate, Hema, Hydroxycyclohexyl Phenyl Ketone
Caution: Professional use advised - be sure to follow our pro application training guides before use. Apply to nails and avoid skin. If skin around nails is inflamed or sore, do not use. In the case of a skin irritation or allergic skin reaction, cease use. Keep out of reach from children.
If you need assistance or have any questions, don't hesitate to check out our FAQ's here.
PLEASE NOTE:
When you first receive your pot of Flexi Gel adhesive, you will notice the lid is tightly screwed, with a vacuumed foil seal. It will take some effort to open, but this is to ensure the adhesive does not dry out. You must ensure the lid it tightly screwed back on after every use and does not get exposed to heat or direct sunlight.
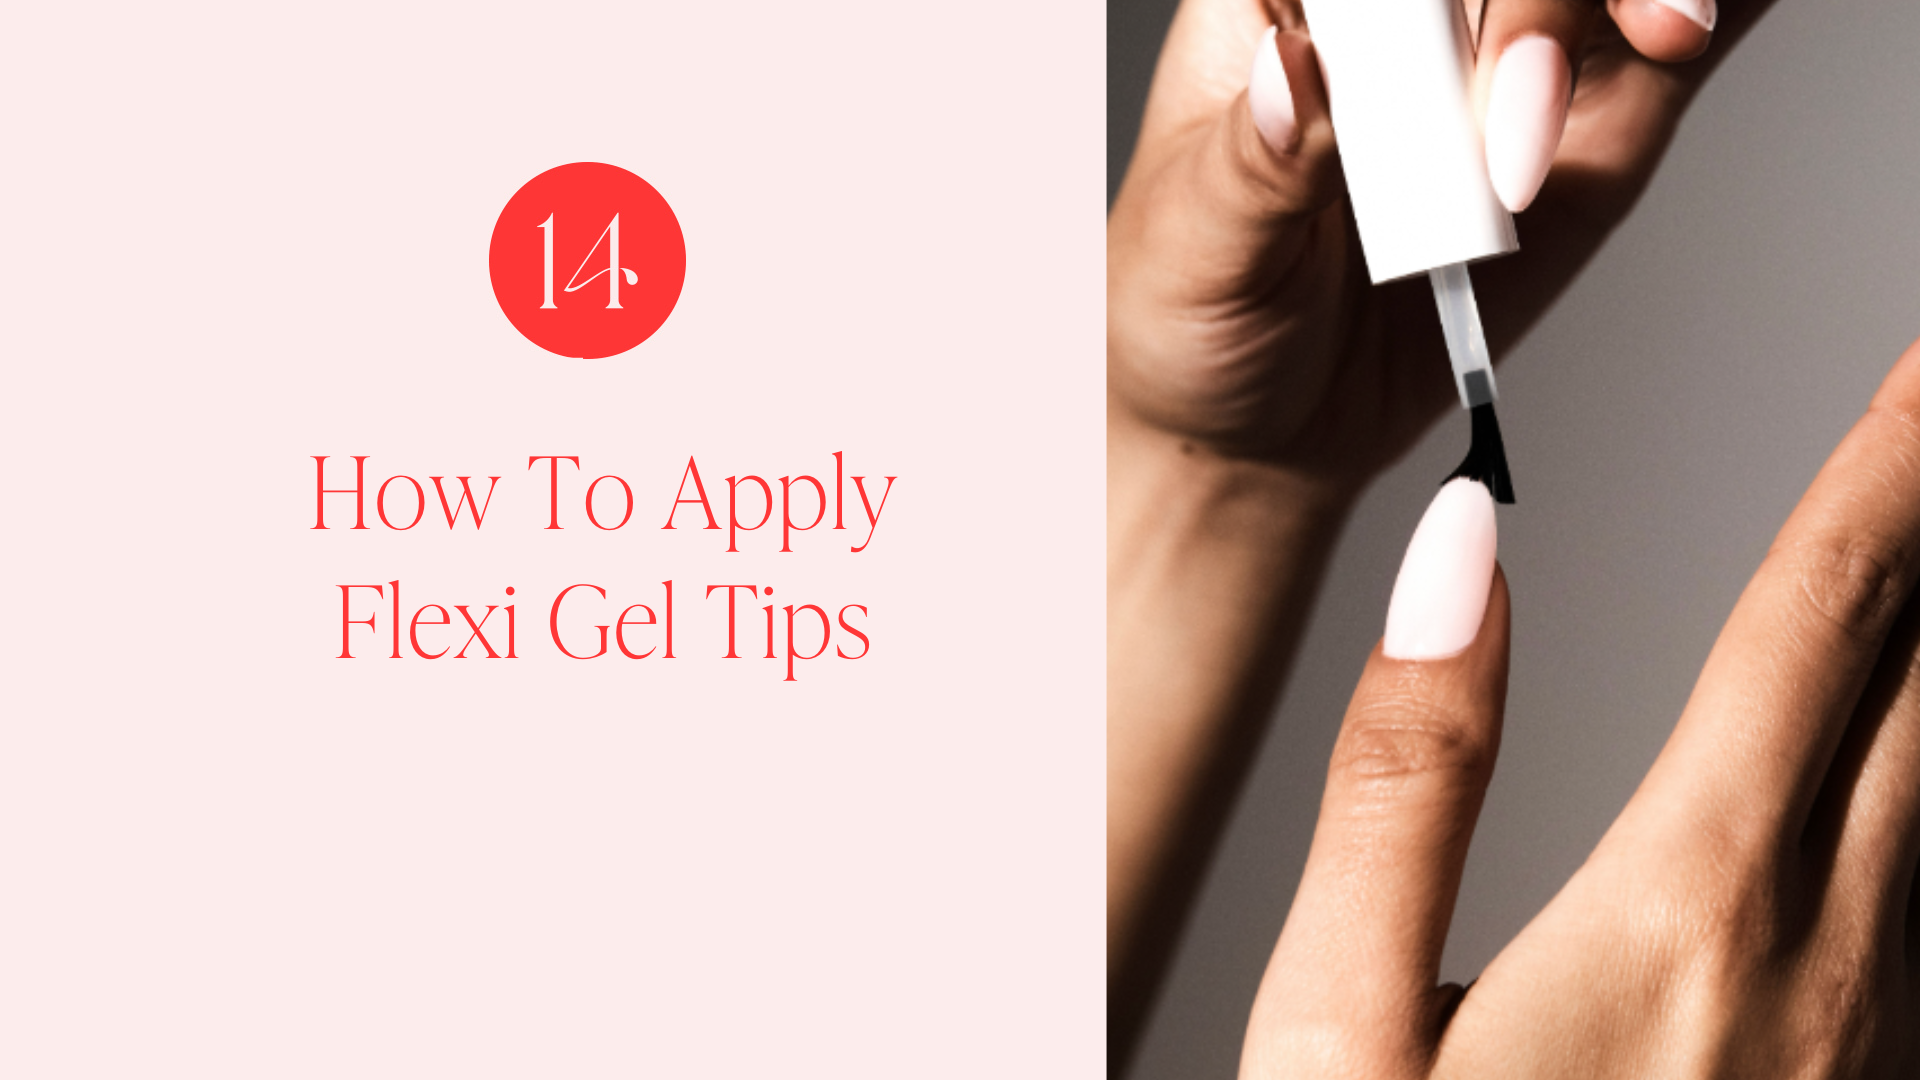
Application Guide:
1. Prep your nails with cuticle work and before applying any product by lightly buffing the top of each nail to remove shine.
2. Apply a thin layer of clear Builder Gel polish, and cure under LED/UV lamp on the 99 second low heat setting.
3. Choose the nail tip sizes that are right for each nail.
4. Working one at a time, use the tip of a cuticle remover or nail brush or collect with the edge of the flexi tip, to take a pea size amount of the Flexi Tip Adhesive and apply it to the outlined Flexi Tip base.
5. Place tip onto natural nail ensuring there is no air bubbles. Place under LED/UV lamp on the 99 second low heat setting. Repeat step 4-5 for the next hand.
6. Apply your favourite Gel Polish and dry under a UV lamp for 30 seconds.
7. Apply your No-Wipe Top Coat and dry under a UV lamp for 30 seconds.
8. Finish off with our Cuticle oil
Caution: Professional use advised - be sure to follow our pro application training guides before use. Apply to nails and avoid skin. If skin around nails is inflamed or sore, do not use. In the case of a skin irritation or allergic skin reaction, cease use. Keep out of reach from children.
When you first receive your pot of Flexi Gel adhesive, you will notice the lid is tightly screwed, with a vacuumed foil seal. It will take some effort to open, but this is to ensure the adhesive does not dry out. You must ensure the lid it tightly screwed back on after every use and does not get exposed to heat or direct sunlight.
Application Guide:
1. Prep your nails with cuticle work and before applying any product by lightly buffing the top of each nail to remove shine.
2. Apply a thin layer of clear Builder Gel polish, and cure under LED/UV lamp on the 99 second low heat setting.
3. Choose the nail tip sizes that are right for each nail.
4. Working one at a time, use the tip of a cuticle remover or nail brush or collect with the edge of the flexi tip, to take a pea size amount of the Flexi Tip Adhesive and apply it to the outlined Flexi Tip base.
5. Place tip onto natural nail ensuring there is no air bubbles. Place under LED/UV lamp on the 99 second low heat setting. Repeat step 4-5 for the next hand.
6. Apply your favourite Gel Polish and dry under a UV lamp for 30 seconds.
7. Apply your No-Wipe Top Coat and dry under a UV lamp for 30 seconds.
8. Finish off with our Cuticle oil
Caution: Professional use advised - be sure to follow our pro application training guides before use. Apply to nails and avoid skin. If skin around nails is inflamed or sore, do not use. In the case of a skin irritation or allergic skin reaction, cease use. Keep out of reach from children.
We ship to UK, Ireland and most of Europe with standard and free delivery options available. For further information and international orders please see our shipping page here to view options available, free shipping threshold and estimated delivery times.
Flexi Gel Tips Application Guide
1
CUTICLES
Gently push back cuticles using the Steel Cuticle Tool. Making sure to remove any excess skin on the nail plate. Don't use any cuticle oils during this step.
Gently push back cuticles using the Steel Cuticle Tool. Making sure to remove any excess skin on the nail plate. Don't use any cuticle oils during this step.
2
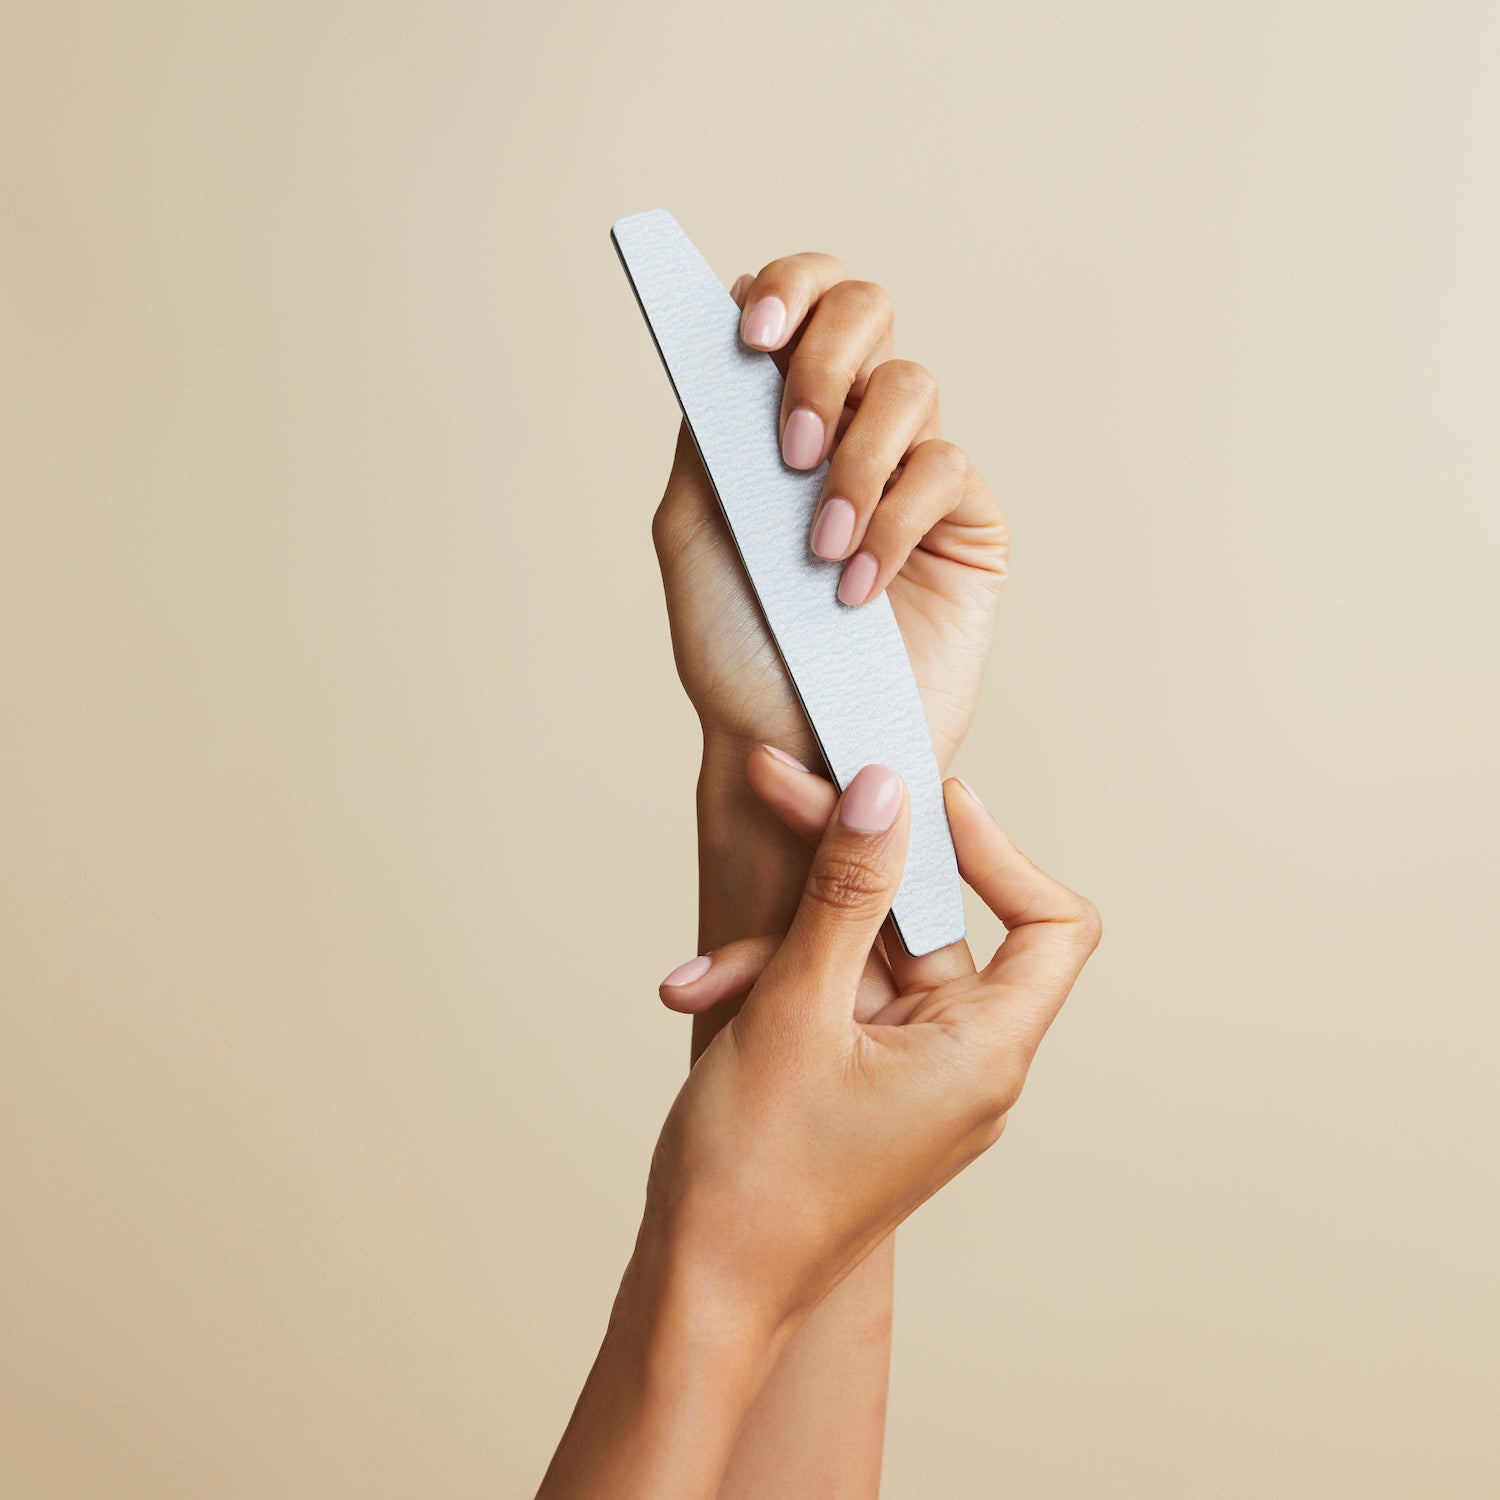
SHAPE & BUFF
Shape nails with nail file. Then using the nail buffer provided, buff the nail bed to smooth all ridges and remove shine, allowing for better adhesion of gel products.
3
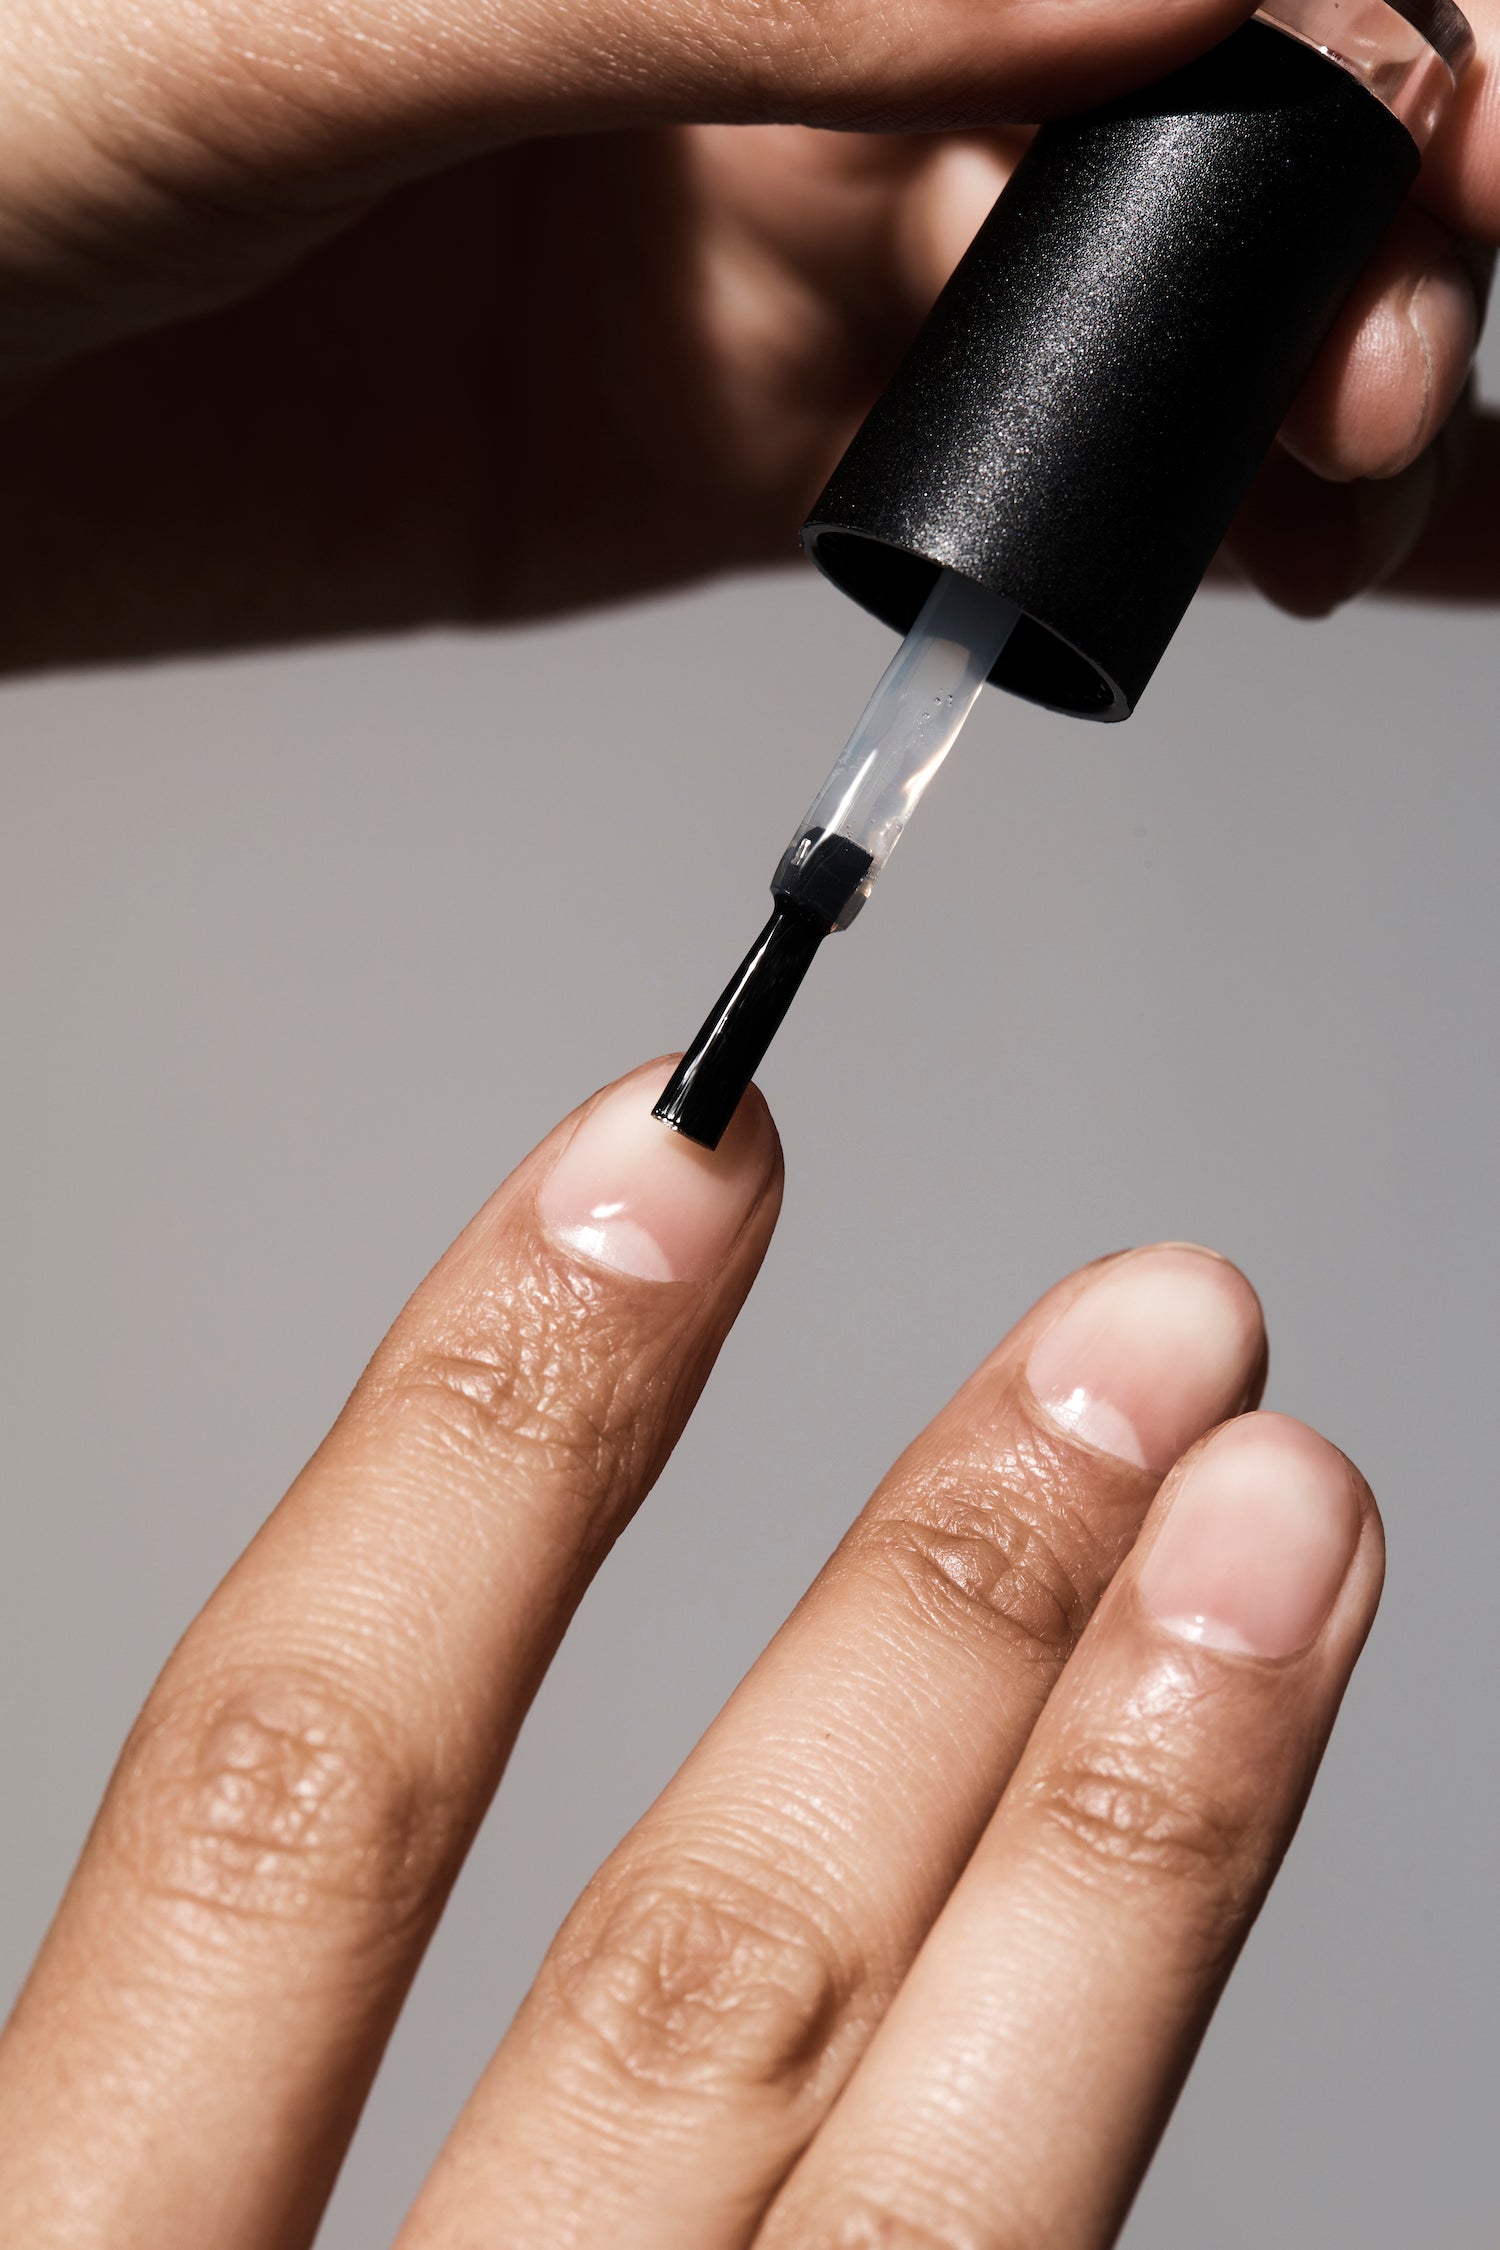
MEASURE & BASE
Choose the nail tip sizes that are right for each nail and put aside. Work one hand at a time. Apply a thin layer of Clear Builder Gel polish curing whole hand for 60 seconds in the UV/LED lamp.
4
FLEXI GEL TIPS
Working one nail at a time, using the base of the Flexi Nail tip or the dual ended adhesive picker and brush, scoop up half a pea size amount of adhesive.
5
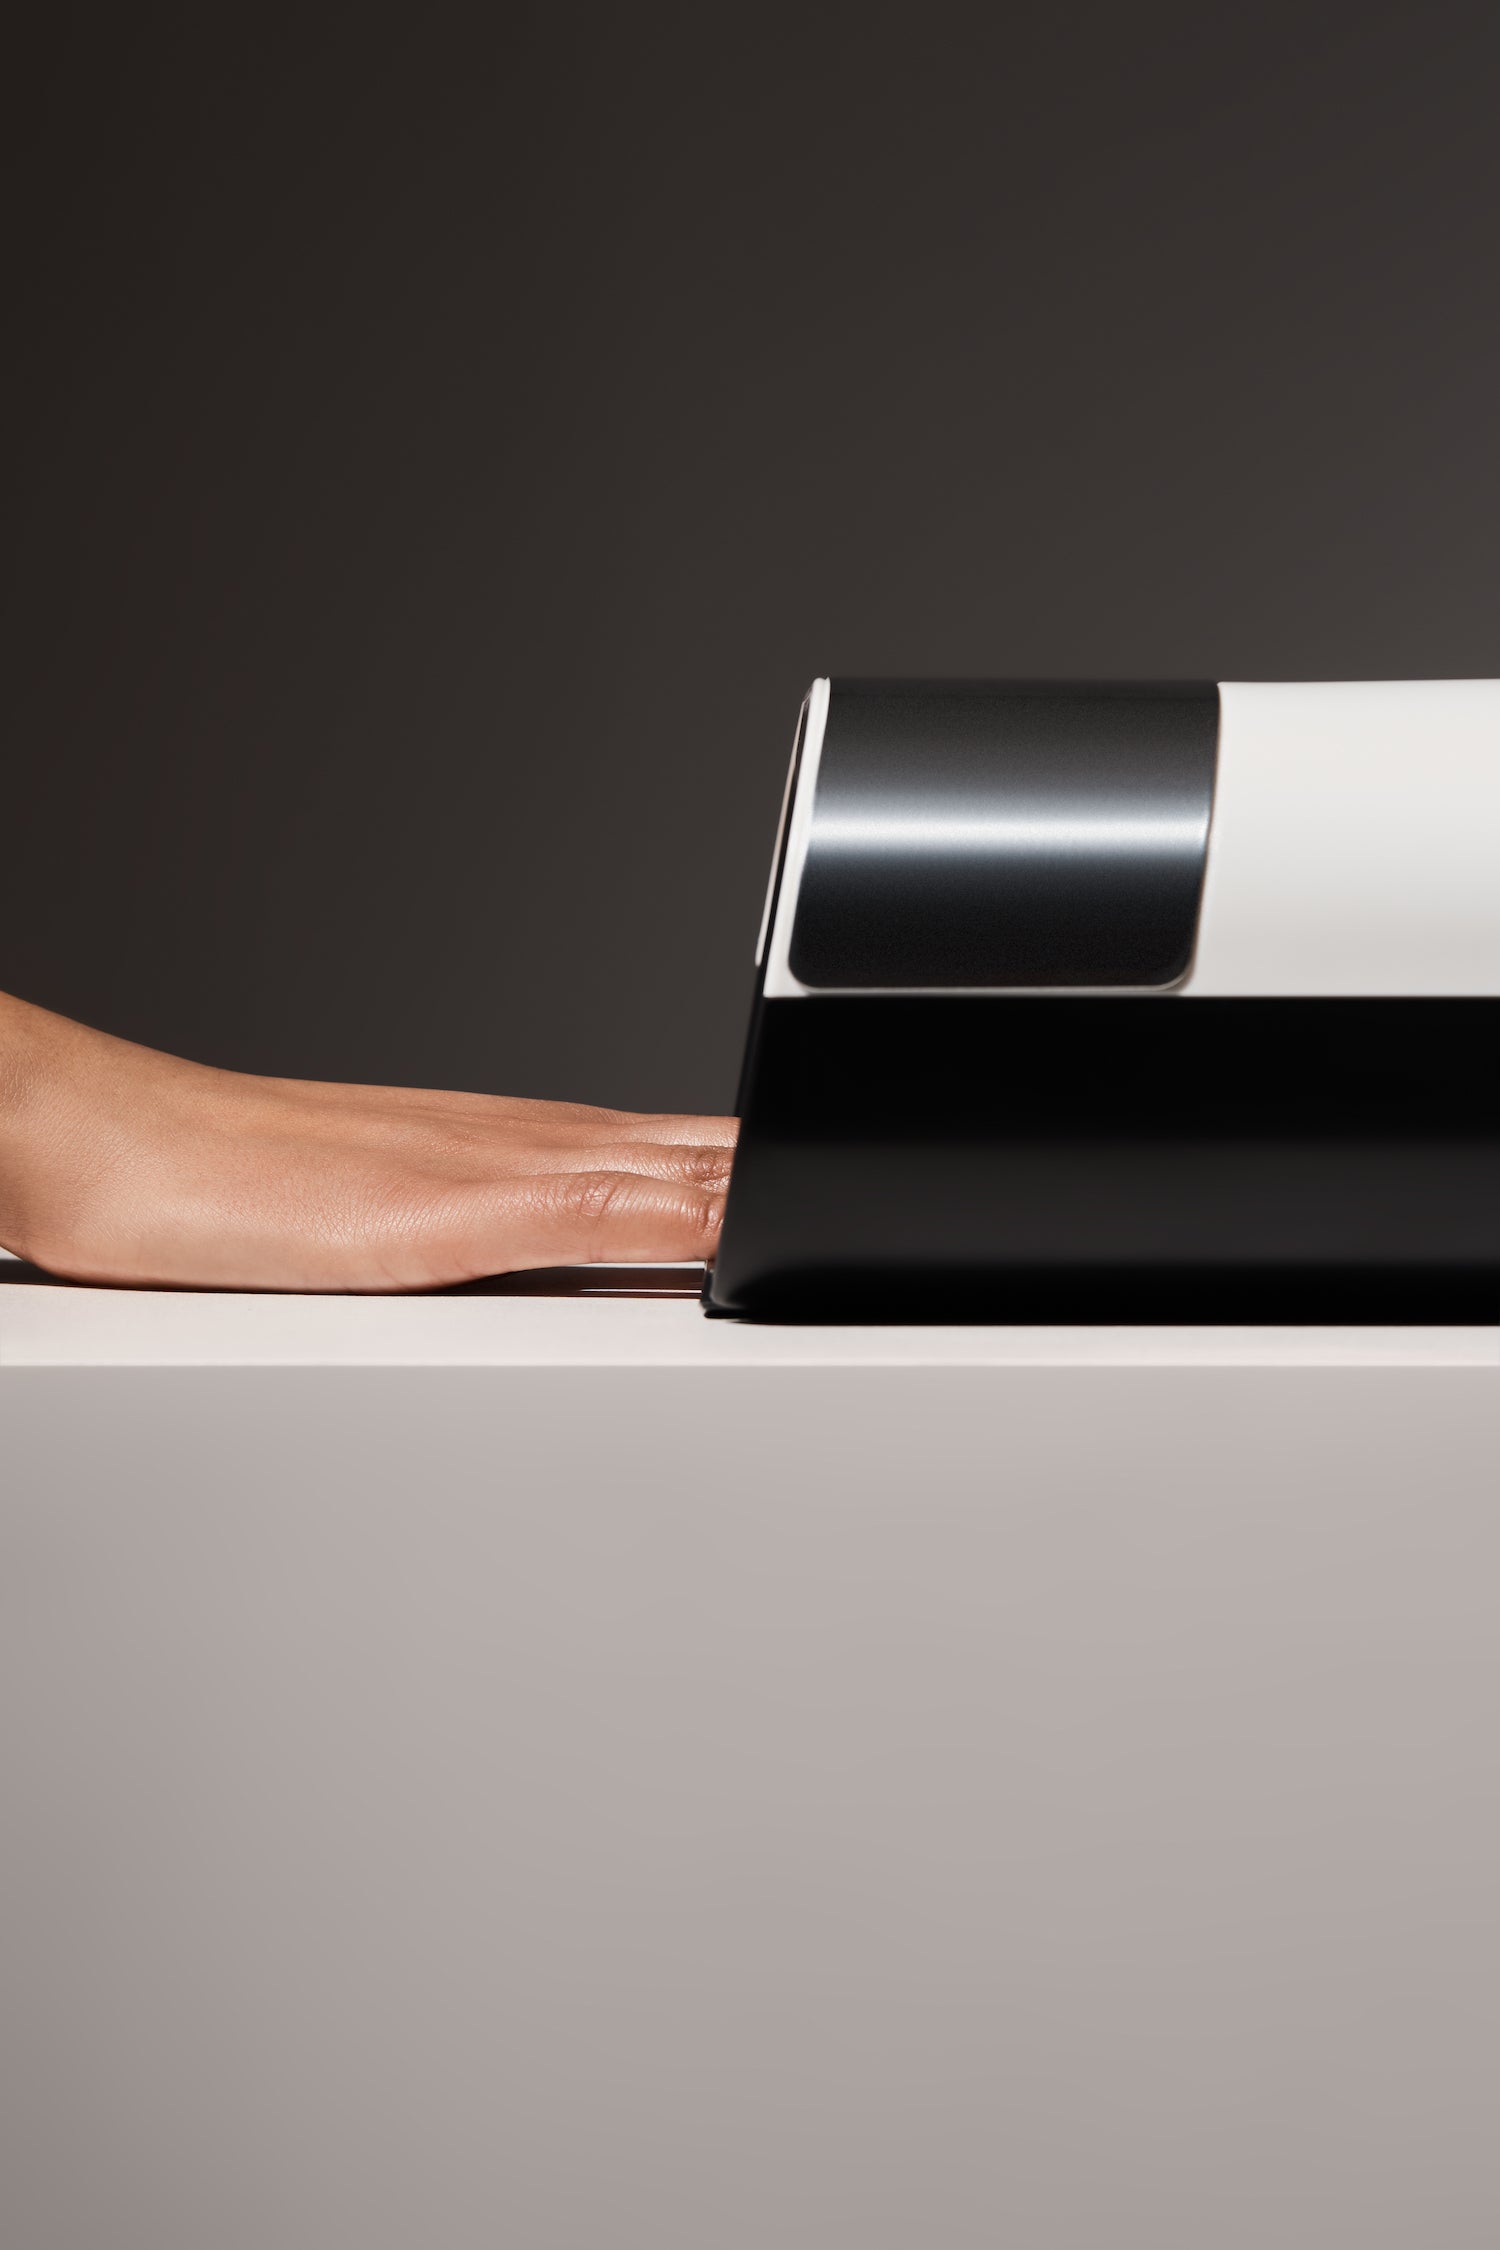
APPLICATION
Align Gel Tip extension to your natural base at a 45 degree angle and firmly press down. Ensure there are no air bubbles. Lift away any excess adhesive that may spill out with the brush side of the dual ended adhesive brush & picker. Once one hand is complete cure under UV/LED lamp for 99 seconds on LOW HEAT setting.
6
FINISH
Repeat step 1 to 5 on your other hand. Once complete apply gel polish or builder gel colour of your choice and cure for 60 seconds. Finally, apply Top Coat and cure again for 60 seconds.
How to Use - Video Tutorial